

In the vast open world of B Valley, your bridger western horse is more than just a ride; it is your lifeline for survival and tactical repositioning. Unlike other RPGs where mounts are purely cosmetic, the bridger western horse in this JoJo-inspired frontier features unique stats and hidden movement techniques. Mastering your bridger western horse is the first step to becoming a legendary Outlaw or In-law.
How to Get Your First bridger western horse
New players typically start with a basic Mule, but upgrading to a high-performance bridger western horse should be your top priority once you've farmed enough Moola through fishing.
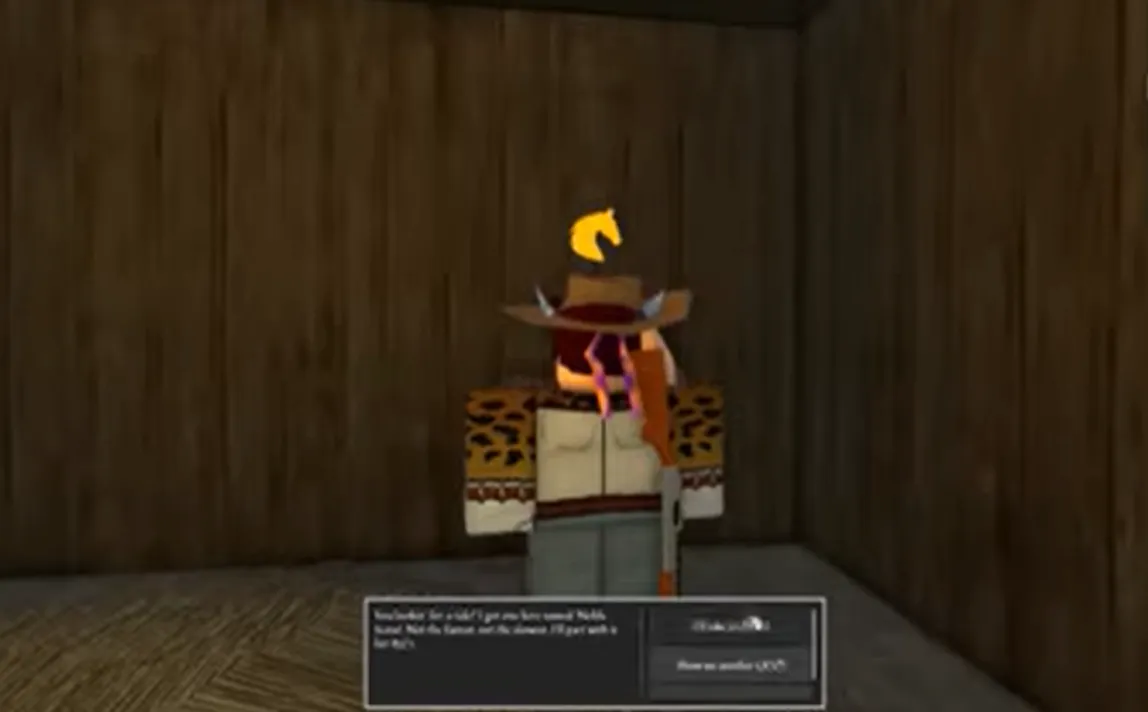
- Location: Head to the Ridge County train station. Directly in front of the station, you will find the Horse Merchant NPC.
- The 1K Rule: While cheap options exist, the best bridger western horse usually costs 1,000 to 1,100 Moola.
- Pro-Tip (Stat Rerolling): Don't settle for a slow mount. Keep rerolling the merchant's offers until you find a bridger western horse with superior speed and stamina stats. A 1.1k investment ensures you aren't stuck with a sluggish animal during a gunfight.
Essential bridger western horse Controls
Familiarize yourself with these inputs to handle your bridger western horse like a veteran:
- H: Summon or Dismiss your bridger western horse.
- N: Mount or Dismount.
- Shift (Hold): Sprint.
- F (While Sprinting): Full stop/Skid stop.
- Space (In Water): Activate the "Water Travel" boost.
Advanced "Horse Tech": Water Crossing
One of the most valuable secrets for any bridger western horse owner is the ability to traverse rivers rapidly. By holding Shift to sprint and tapping/holding Space while entering the water, your bridger western horse can glide across deep sections much faster than swimming on foot. This "Horse Tech" is vital for escaping bounty hunters or reaching the Witch's Hut in the swamp.
Survival & Tactical Use
Your bridger western horse can be a target in PvP. High-level players often use the bridger western horse to close the gap before jumping off (N) to initiate a Stand rush or a shotgun blast. Always remember to dismiss your mount (H) if a fight gets too chaotic to prevent losing your investment to stray bullets.
This guide is part of the bridger WESTERN Wiki. Data is updated regularly by the community. Last verified: April 1, 2026.